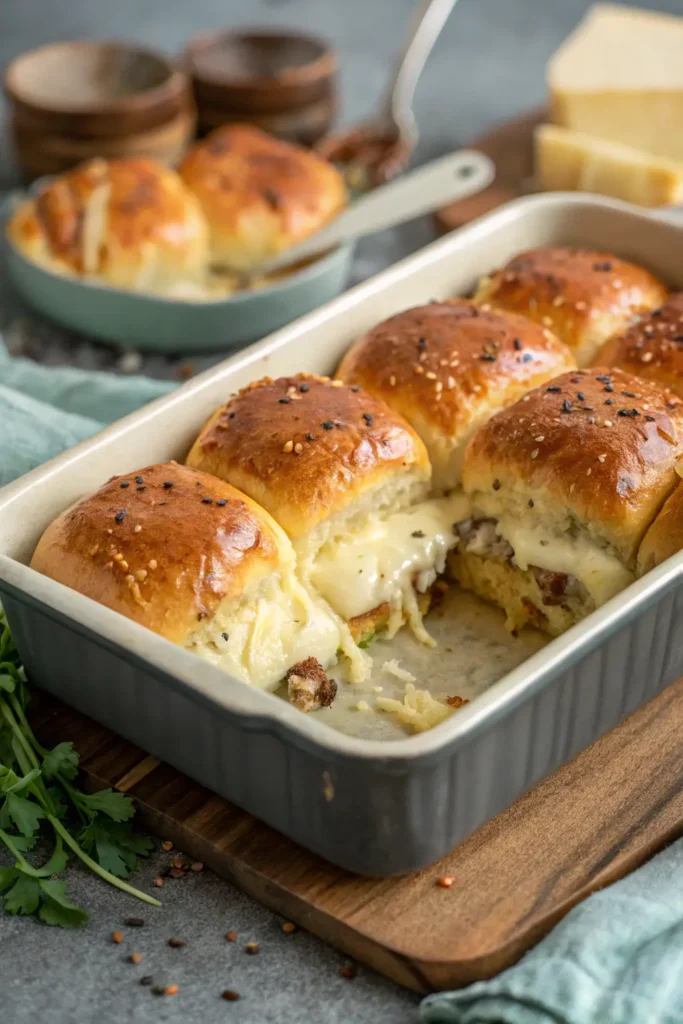
Few things are as universally loved as a warm, cheesy sandwich. But make it bite-sized, and you’ve got a certified crowd-pleaser. These oven-baked chicken sliders are a game-changer for busy families.
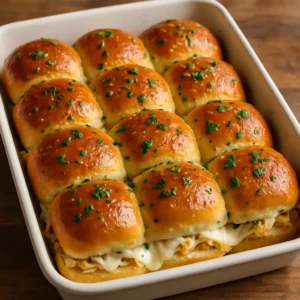
They pack melty cheese and savoury, shredded chicken into soft buns with a golden garlic butter topping. They are, without a doubt, the mini sandwich everyone loves.
Whether you need a quick weeknight dinner with the kids clearing their plates, a no-fuss appetizer for game day, or an easy-to-make dish for a party, this recipe is your new best friend. It’s simple, endlessly customizable and perfect for even the pickiest eaters.
Ready to win at dinner? Start with this easy base recipe, then explore your favourite twist! We’ve got delicious Buffalo, BBQ, and Chicken Bacon Ranch variations waiting for you.
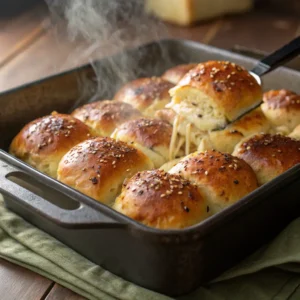
The best chicken sliders—golden, cheesy, and oven-baked to perfection.

Table of Contents
Why You’ll Love These Chicken Sliders
- Perfectly Portioned: They are bite-sized and easy for little hands to hold, making them a fantastic kid-friendly meal or a go-to party snack.
- Insanely Easy: This recipe comes together in minutes with pre-cooked chicken. Just assemble, bake, and serve.
- Fully Customizable: This base recipe is a blank canvas. Stick with classic cheese or explore our flavour variations below to find your family’s favourite.
- Make-Ahead & Freezer-Friendly: Assemble them and bake when ready, or freeze a batch for a future meal emergency.
Ingredients You’ll Need
This simple ingredient list is all about ease and flavour.
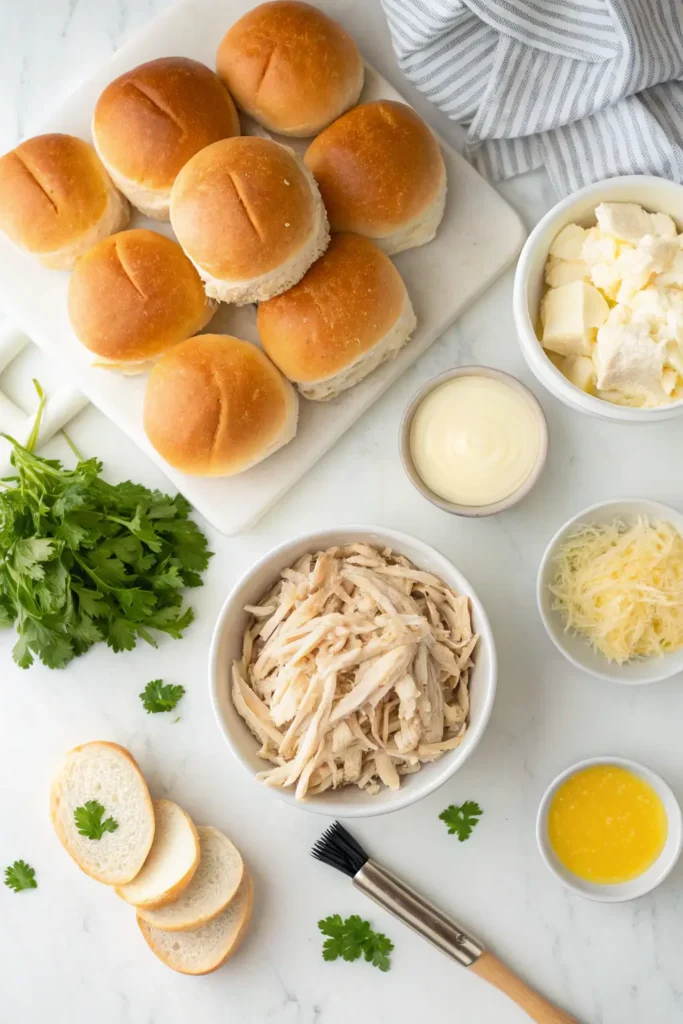
For the Base Sliders:
- Slider Buns: One 12-pack of your favourite style. Sweet Hawaiian rolls are a classic choice, but soft brioche or potato buns work beautifully, too.
- Cooked Shredded Chicken: About 2 cups. A store-bought rotisserie chicken is your best friend here, but you can also use any leftover cooked chicken.
- Shredded Cheese: 1 ½ cups. Sharp cheddar or creamy mozzarella are fantastic options, but Colby Jack or a Mexican blend is also great.
- Mayonnaise or Ranch Dressing: 2 tablespoons (optional). This adds a touch of creaminess and helps keep the chicken moist.
For the Garlic Butter Topping:
- Butter: 2 tablespoons, melted.
- Garlic Powder: ½ teaspoon.
- Chopped Fresh Parsley: 1 tablespoon (optional) for a pop of colour and freshness.
How to Make Chicken Sliders (Step-by-Step)
In just three simple steps, you’re on your way to cheesy, golden-brown perfection.
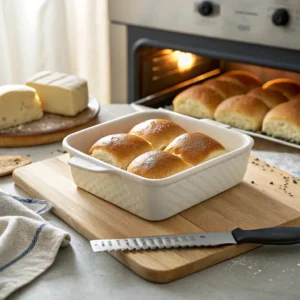
Step 1: Prep the Buns & Chicken
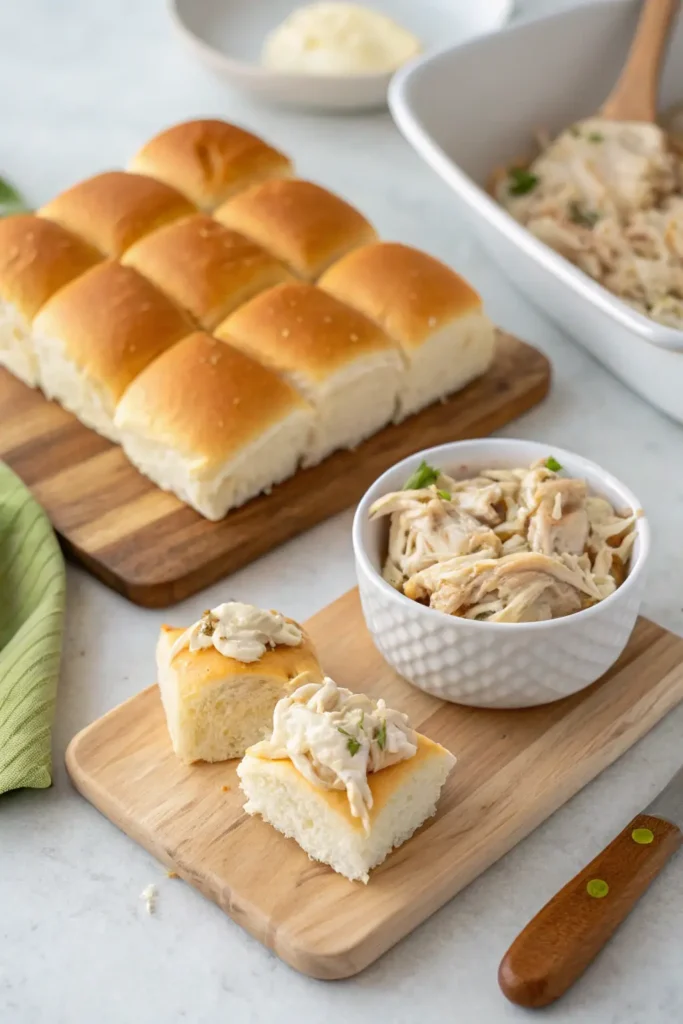
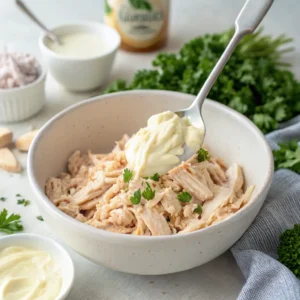
First, preheat your oven to 350°F (175°C). Take your slider buns and, using a large serrated knife, slice the entire slab in half horizontally without separating the individual buns. It should open like a book. Place the bottom half in a lightly greased 9×13-inch baking dish. In a medium bowl, mix your shredded chicken with the mayonnaise or ranch dressing, if you’re using it.
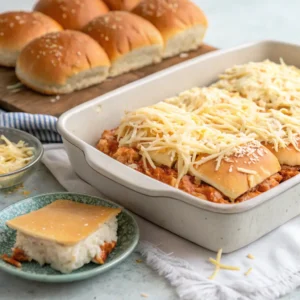
Step 2: Assemble the Sliders
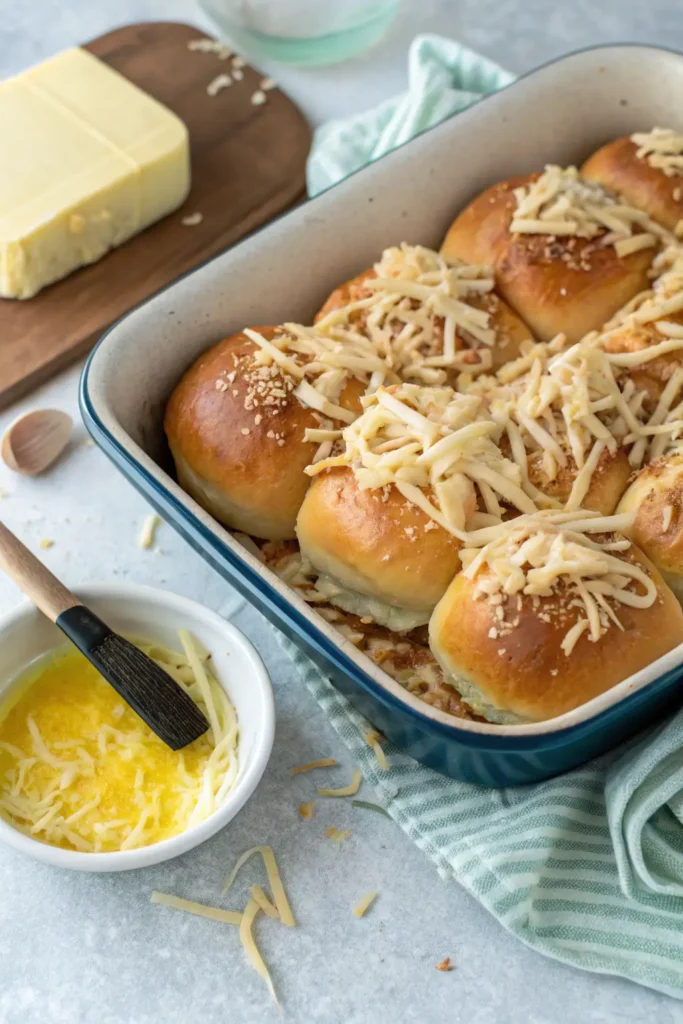
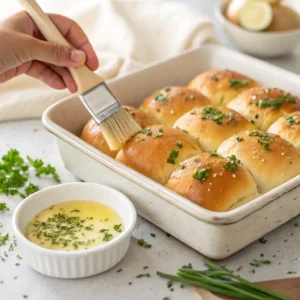
Time to build! Spread the chicken mixture evenly over the bottom slab of buns. Next, sprinkle the shredded cheese all over the chicken, creating a generous, even layer. Place the top slab of buns right over the cheese. Whisk together the melted butter, garlic powder, and fresh parsley in a small bowl. Gently brush this garlic butter mixture all over the tops of the buns.
Step 3: Bake & Serve
Cover the baking dish tightly with aluminium foil. It is the key to getting that perfectly melty cheese and soft interior. Bake for 15 minutes. Then, remove the foil and bake for another 5-7 minutes, or until the tops of the buns are beautifully golden brown and slightly crisp. Let them rest for a minute before slicing them into individual sliders. Serve warm, and watch them disappear!
Flavor Variations to Try
While this classic recipe is a perfect starting point, it’s also the foundation for some of our most popular flavor twists. Each of these variations has its own dedicated, in-depth recipe post to guide you.
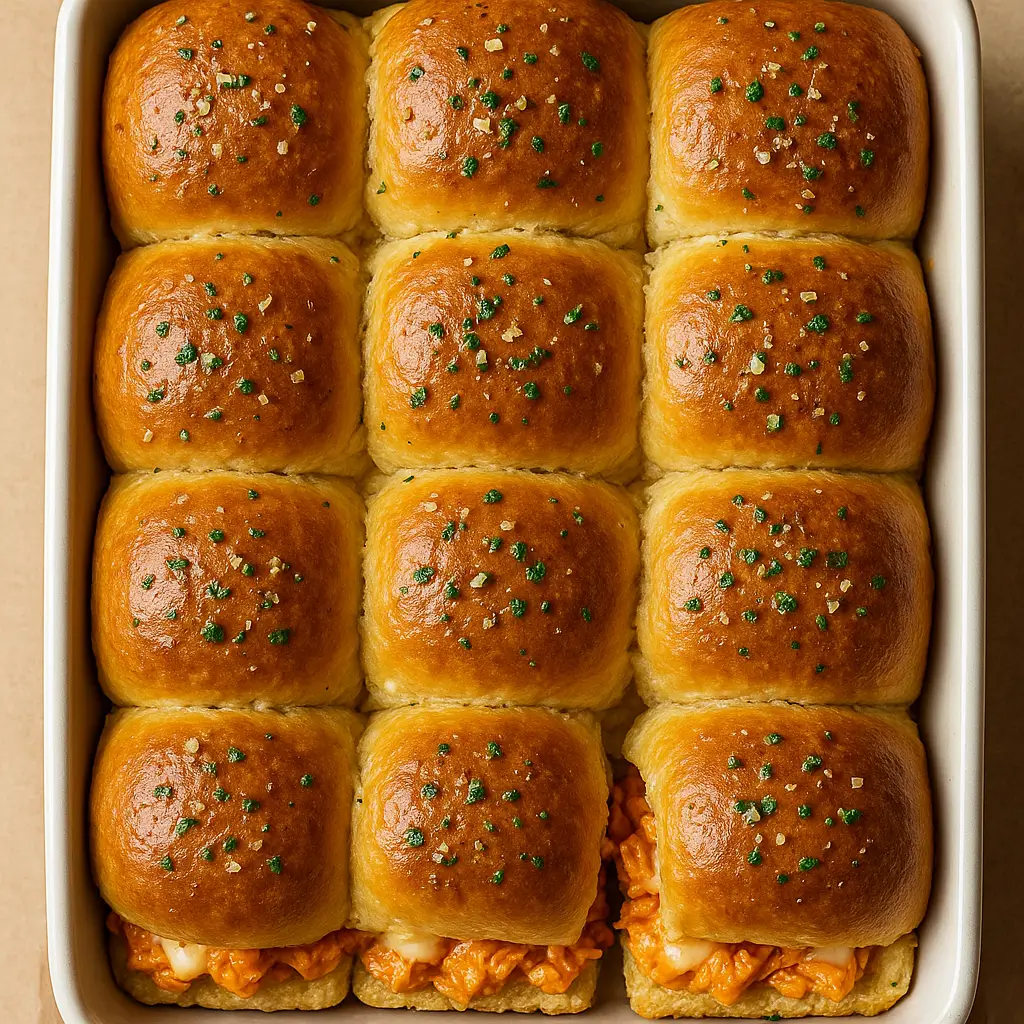
Spicy Buffalo Chicken Sliders
For those who love a bit of heat, our Buffalo Chicken Sliders are the ultimate game-day appetizer. They pack all the tangy, spicy flavor of your favorite wings into a cheesy, pull-apart sandwich. These are perfect for serving with a side of celery sticks and creamy blue cheese or ranch dressing.
Get the Full Recipe: Spicy Buffalo Chicken Sliders
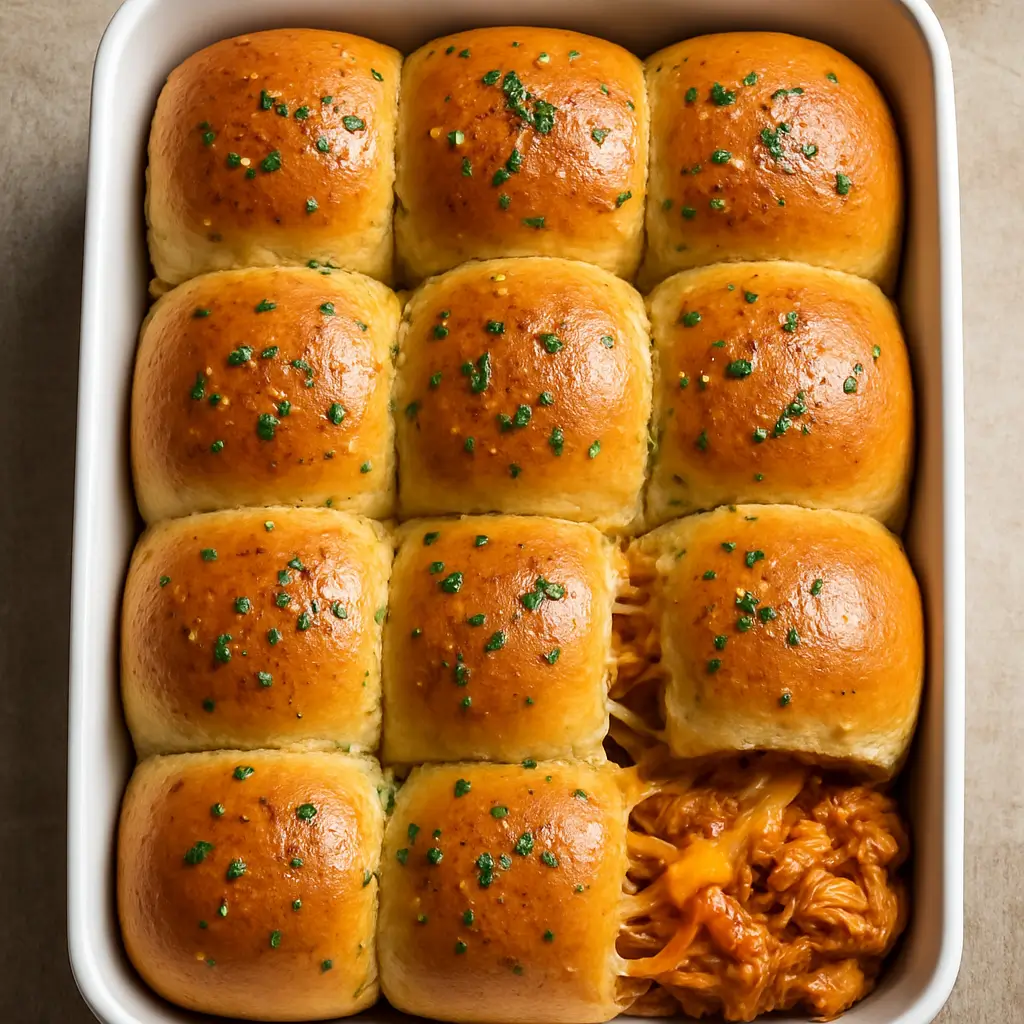
Sweet & Smoky BBQ Chicken Sliders
Bring the taste of a summer cookout indoors any time of year. These sliders are loaded with tender shredded chicken tossed in a sweet and smoky BBQ sauce, then topped with melted cheddar cheese for a truly irresistible combination. They’re a guaranteed hit with both kids and adults and are perfect for casual family dinners.
Get the Full Recipe: Sweet & Smoky BBQ Chicken Sliders
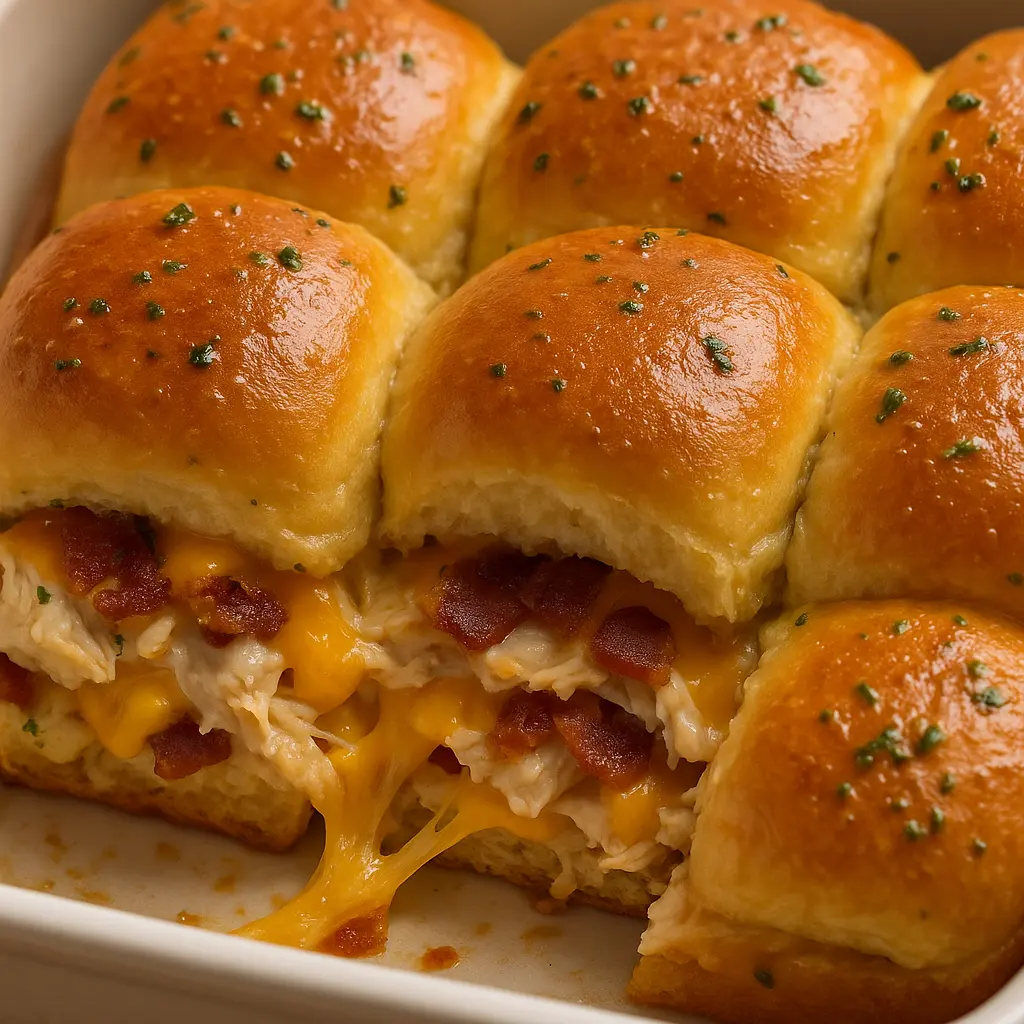
Cheesy Chicken Bacon Ranch Sliders
This is the king of comfort food sliders. We combine three of the most beloved flavors—crispy bacon, creamy ranch, and savory chicken—into one incredible, cheesy package. It’s the ultimate crowd-pleaser. These are rich, satisfying, and perfect for when you need a guaranteed win at the dinner table.
Get the Full Recipe: Cheesy Chicken Bacon Ranch Sliders
Tips for Perfect Sliders Every Time
A few extra pointers can take your sliders from great to absolutely unforgettable.
- Use a Sharp Knife: A long, serrated bread knife is the best tool for slicing the slab of buns cleanly in one go. A gentle sawing motion works much better than pressing down.
- Grate Your Cheese: While pre-shredded cheese is convenient, it’s often coated in anti-caking agents that prevent it from melting as smoothly. Grating a block of cheddar or mozzarella will give you that glorious, gooey cheese pull every time.
- Don’t Overstuff: Packing them whole is tempting, but overstuffing can cause the cheese and filling to leak out during baking, leading to a messy dish. A nice, even layer is all you need for the perfect filling-to-bun ratio.
- Cover, Then Uncover: Don’t skip the foil! Cover the dish first to trap steam, which gently heats the inside and perfectly melts the cheese. Uncovering at the end is the secret to getting that delicious, golden-crisp top without drying out the sliders.
- Let Them Rest: After you pull the dish from the oven, give the sliders a minute or two to rest before slicing. It allows the filling to set slightly, making for cleaner cuts and less filling space.
What to Serve With Chicken Sliders
These sliders are incredibly versatile and can be the star of a simple family dinner or part of a larger party spread. Here are some ideas to round out your meal:
For a Quick Family Dinner, please keep it simple and satisfying. These sliders pair wonderfully with classic, kid-friendly sides.
- Hearty Potatoes: Serve them with crispy French fries, sweet potato wedges, or our flavorful Potatoes O’Brien.
- Simple Veggies: A side of steamed broccoli, buttered corn on the cob, or a bag of microwavable green beans makes for a balanced meal.
- A Crisp Salad: A simple Caesar salad or a garden salad with ranch dressing adds a fresh, crunchy element.
For a Party or Game Day, think easy-to-eat finger foods that complement the sliders when feeding a crowd.
Snackable Bites: A big bowl of potato chips, pretzels, or a platter of fresh veggie sticks and fruit skewers requires zero effort and ensures something for everyone.
The Dip Bar: Set up a “dip bar” with small bowls of ranch, honey mustard, marinara, and BBQ sauce for dunking.
Refreshing Salads: A vibrant Pineapple Cucumber Salad offers a cool contrast, while a creamy coleslaw or pasta salad is always a crowd-pleaser.
Occasions to Make Chicken Sliders
While these sliders are perfect for any Tuesday, they shine at special gatherings. Keep this recipe in your back pocket for:
- Birthday Parties: Instead of ordering pizza for the tenth time, a big tray of these sliders feels both special and incredibly easy. You can even create a “slider bar” for the kids by putting out bowls of kid-safe toppings like pickle slices, extra cheese, or crispy fried onions and letting them customize their own portion. They’re easy for little hands to manage, which means less mess for you to clean up.
- Game Day: These are the ultimate football food. You can hold one in one hand and cheer on your team with the other—no fork required! Make a double batch with two different flavor variations (like BBQ and Buffalo) on the same sheet pan to give your guests options. They’ll be gone before halftime.
- Potlucks: Tired of bringing the same old pasta salad? These sliders are a showstopper. You can assemble them completely at home in their baking dish, cover them with foil, and bake them on-site so they’re served perfectly hot and melty. Trust us, you won’t be bringing any leftovers home.
- Easy Freezer Meals: On those chaotic weeknights when you get home late and the thought of cooking from scratch is overwhelming, pulling a pre-made tray of these sliders from the freezer feels like winning the lottery. It’s a delicious, home-cooked meal that’s ready with virtually zero effort—a true gift from your past, wiser self.
- Lunchbox Heroes: Break the boring sandwich routine! These sliders are just as delicious cold as they are warm. Pack one or two into a lunchbox for an exciting midday meal. Or, to keep them warm, preheat a thermos by filling it with boiling water for a few minutes, then dump the water and add a warm slider. It’ll be perfectly toasty come lunchtime.
Storage & Reheating Instructions
Leftovers are rare, but if you have them, here’s how to keep them tasting great.
- To Refrigerate: Store any leftovers in an airtight container in the fridge for up to 3 days. If you can, store them in a single layer to prevent them from getting squished.
- To Reheat: The goal is to warm the inside while re-crisping the top. For best results, reheat the sliders in a 350°F oven for about 10 minutes or until warmed. An air fryer works wonderfully; a few minutes at around 350°F will bring them back to life. We recommend avoiding the microwave, which can make the buns soft and soggy.
- To Freeze: These are great for freezing! Assemble the sliders completely, but do not bake them. To prevent freezer burn, wrap the entire dish tightly in a plastic wrap layer and then a foil. Freeze for up to 1 month. When you’re ready to eat, there’s no need to thaw! Bake directly from frozen (covered with foil) at 350°F for 25-30 minutes, then uncover and bake for 5-10 more minutes until golden and heated.
Creative Uses for Leftover Sliders
Think outside the bun! If you get tired of eating them as-is, get creative with your leftovers.
- Deconstructed Slider Salad: For a truly gourmet-feeling lunch, gently reheat a slider in the toaster oven or air fryer. While it’s warming, prepare a big bowl of crisp romaine lettuce with cherry tomatoes, cucumbers, and red onion. Chop the warm, cheesy slider into bite-sized pieces and use it as a ‘crouton’ topping. The contrast of the warm, melty chicken and cheese with the cool, crisp salad is incredible.
- Quick “Stuffed” Peppers: This is a fantastic low-carb way to enjoy the filling. Slice two or three bell peppers in half lengthwise and remove the seeds. Mix the leftover chicken filling with about a half cup of cooked rice or quinoa, then spoon the mixture into the pepper halves. Top with some extra cheese and bake at 375°F for about 20-25 minutes, until the peppers are tender and the filling is bubbly. It’s a whole new meal!
- Road Trip Wraps: Car food can be a challenge, but this is a mess-free solution. Scrape the filling from two or three cold sliders into a large, soft flour tortilla. Add a handful of fresh spinach or lettuce for some crunch, roll it up tightly like a burrito, and you have a satisfying, easy-to-eat meal that won’t leave crumbs all over the car seats.
- Slider Scramble: Turn your leftovers into a hearty breakfast. Roughly chop a leftover slider and toss it into a hot, buttered skillet. Sauté for a minute until it starts to crisp up, then pour in two whisked eggs. Scramble everything together until the eggs are cooked. You get cheesy, chicken-filled scrambled eggs that are packed with protein and incredibly delicious.
A Note on Nutrition
While these are an indulgence, you can feel good about serving them! Each slider is a well-rounded bite of protein, carbs, and fat. The approximate calorie count is around 220–250 calories per slider, depending on the specific buns and cheese you use.
To make them a bit lighter, you can:
- Use whole-wheat slider buns.
- Opt for part-skim mozzarella cheese.
- Use a light mayonnaise or a Greek yoghurt-based ranch.
- Go easy on the garlic butter topping, or use a light substitute.
Frequently Asked Questions
Can I use rotisserie chicken?
Absolutely! Using a store-bought rotisserie chicken is the ultimate time-saving hack for this recipe.
What’s the best cheese for sliders?
This comes down to preference! Sharp cheddar provides a bold flavour; mozzarella gives you that epic cheese pull, and provolone or Colby Jack are excellent melters.
Can I make these ahead of time?
Yes. You can assemble the sliders, cover them, and refrigerate them for up to 24 hours before baking. Just add a few extra minutes to the baking time.
How do I keep the buns from getting soggy?
Using a thicker sauce (like a quality BBQ sauce) and not letting the chicken mixture sit on the buns for too long before baking will prevent sogginess. Toasting the buns inside for 1-2 minutes before assembling can also help create a barrier.
You Can’t Go Wrong with Sliders!
This chicken sliders recipe is more than just a meal; it’s a solution. It’s the answer to “What’s for dinner?” and “What should I bring to the party?” that you’ll come back to again and again. Food is more than just sustenance; it’s about creating moments, sharing joy, and making memories. And that’s exactly what a warm, golden tray of these sliders does. It brings people together, quiets the picky eaters, and leaves everyone with a smile.
Think of this recipe as your starting point. It’s a reliable, delicious foundation for your creativity. Once you master the classic version, the sky’s the limit. Add a sprinkle of red pepper flakes for heat, mix in some finely diced jalapeños, or try a different cheese every time. Cooking should be fun; these sliders are the perfect canvas for culinary experiments. So go ahead, get in the kitchen, and make a batch. Please share them with your family, bring them to your next get-together, and watch them become one of your most requested recipes.
We know you’ll love them. Check out our Buffalo, BBQ, and Ranch variations to find your family’s favourite!
Classic Chicken Sliders Recipe Card
Classic Chicken Sliders
Ingredients
- 12 slider buns Hawaiian or similar
- 2 cups cooked shredded chicken
- 1 ½ cups shredded mozzarella or cheddar cheese
- 2 tbsp mayonnaise or ranch dressing optional
- 2 tbsp butter melted
- ½ tsp garlic powder
- 1 tbsp chopped fresh parsley optional
Instructions
- Preheat oven to 350°F (175°C). Slice slider buns in half horizontally without separating them. Place the bottom section in a greased baking dish.

- In a bowl, mix shredded chicken with mayonnaise or ranch, if using.
- Spread the chicken mixture evenly over the bottom buns, then sprinkle the cheese. Cover with the top section of buns.
- Whisk together the melted butter, garlic powder, and parsley in a small bowl. Brush this mixture over the top of the buns.
- Cover the dish with foil and bake for 15 minutes. Uncover and bake for 5-7 minutes, until the tops are golden brown and the cheese is bubbly. Slice and serve warm.
Video
Notes
- Use Hawaiian rolls for a touch of sweetness that kids love.
- Feel free to swap cheeses based on your preference (Colby Jack, Provolone, etc.).
- These are perfect for school lunchboxes, weeknight dinners, and game-day platters.